




You must be 21+ years of age or older to view this site. If you are under 21 - you must leave.

How to Use a Dry Herb Vaporizer for Beginners
How to Use a Dry Herb Vaporizer for Beginners – Your Complete Step-by-Step Guide
Learning how to use a dry herb vaporizer for beginners does not have to be complicated. In fact, with the right device and the right guidance, your first session can be genuinely enjoyable and set you up for many more great experiences to come. The key is understanding the basics before you start — how to prepare your herb, how to load the chamber, how to choose the right temperature, and how to inhale properly for the best results.
This guide from Strio walks you through the entire process from start to finish, written specifically with new users in mind. By the time you finish reading, you will have everything you need to confidently fire up your first vaping session with the Strio Flowerboy or any other quality dry herb vaporizer in your possession.
Step One – Getting Your Equipment Ready
The first step in understanding how to use a dry herb vaporizer for beginners is gathering the right equipment. At a minimum, you will need your vaporizer, dry herb, and a grinder. While it is technically possible to use a dry herb vaporizer without grinding your material first, doing so produces significantly inferior results. Unground herb does not heat evenly, which means some of your material may over-vaporize while other portions are barely touched.
A quality grinder like the Strio Grinder Drop or Grinder Grip — both made from aircraft-grade aluminum with precision grinding teeth — will break your herb down to the optimal consistency in seconds. You are looking for a medium-fine grind that is consistent throughout, with no large chunks or fine powder. This consistency is one of the most important factors in getting great results from your vaporizer.
Before your first session, you should also charge your device fully. Most dry herb vaporizers come with a USB charging cable and will indicate when they are fully charged through an LED indicator or a change in light color. Starting your first session with a fully charged device ensures you will not run out of power mid-session and gives you the opportunity to experience the device's full performance capabilities.
Step Two – Understanding Your Device
The second step in how to use a dry herb vaporizer for beginners is getting familiar with your specific device before you load it. Every vaporizer is slightly different, but most share the same basic architecture: a battery section at the bottom, a heating chamber in the middle, and a mouthpiece at the top. Understanding where these components are and how they interact will make every subsequent step more intuitive.
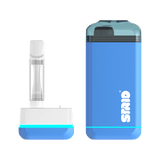
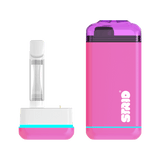
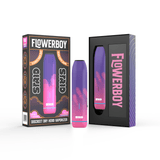
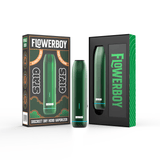
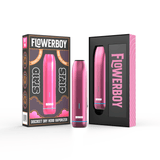
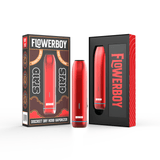
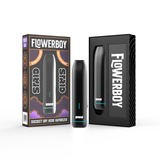
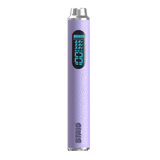
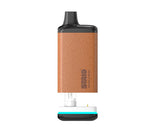
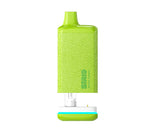
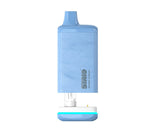
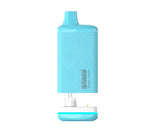
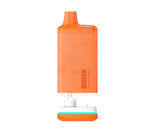
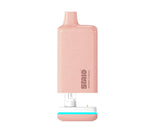
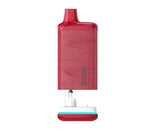
On the Strio Flowerboy, operation is designed to be as straightforward as possible. The device powers on and off with a series of clicks on the main button — typically five rapid clicks to turn on and five to turn off. Temperature adjustment is done through the same button with shorter click sequences. Take a few minutes to explore these controls before you load the chamber so you feel comfortable with them when it matters.
Step Three – Loading the Herb Chamber Correctly
Loading the chamber is arguably the most important step in how to use a dry herb vaporizer for beginners, and it is the one most commonly done incorrectly. The goal is to fill the chamber with your finely ground herb, but the packing density matters enormously. Too loose and the herb will not heat efficiently. Too tightly packed and airflow will be restricted, resulting in weak vapor and a difficult draw.
The ideal packing density is somewhere in between — what experienced vapers describe as a gentle, moderate pack. Fill the chamber to just below the top lip, then press the herb down very lightly with your fingertip or a small packing tool until it feels slightly firm but still allows air to pass through freely. You should be able to draw through the mouthpiece with moderate effort before the device is even powered on.
Overpacking is the single most common mistake in how to use a dry herb vaporizer for beginners, so err on the side of packing slightly loosely if you are unsure. You can always adjust in future sessions as you develop a feel for the right density.

Step Four – Choosing the Right Temperature for Your First Session
Temperature selection is a central part of how to use a dry herb vaporizer for beginners, and it is where a little knowledge goes a long way. As a beginner, starting at a lower temperature setting is almost always the right call. Lower temperatures in the range of 320°F to 356°F produce lighter, more flavorful vapor that is easier on the lungs and gives you a gentle introduction to what vaporizing feels like.
Once you are comfortable with the experience and want more intensity or vapor density, you can gradually increase the temperature in subsequent sessions. Mid-range temperatures around 365°F to 390°F produce a noticeably thicker vapor with more potency. Higher settings above 390°F generate the densest vapor but also carry more risk of producing a slightly harsh draw if your herb is particularly dry.
For your first few sessions with the Strio Flowerboy, stay in that lower range. You will get a great introduction to the flavors of your herb, the device will warm up quickly, and you will be able to assess how you respond to the experience before increasing intensity.
Step Five – The Warm-Up Period and First Draw
The warm-up period is an aspect of how to use a dry herb vaporizer for beginners that catches many newcomers off guard. Unlike a pipe or joint that ignites instantly, a dry herb vaporizer needs 30 to 90 seconds to bring the chamber up to your chosen temperature. During this time, the device is working hard — you may see the LED indicator change color or hear a subtle vibration that signals the device has reached temperature.
Resist the urge to inhale during the warm-up period. Once the device signals that it is ready, take a slow, gentle draw through the mouthpiece. This is another area where beginners often make mistakes — they inhale too quickly and too hard, which pulls cold air through the chamber before it has time to fully heat the vapor. The ideal draw is slow, steady, and lasts around three to five seconds. Think of it as sipping vapor rather than pulling smoke.
You may not see a dense cloud on your first draw, especially at lower temperature settings. This is completely normal. Dry herb vapor is much less visible than smoke, particularly at lower temperatures. The experience is entirely different from smoking — it is smoother, more flavorful, and less immediately intense, but the cumulative effect is deeply satisfying.
Step Six – Managing Your Session from Start to Finish
Understanding how to use a dry herb vaporizer for beginners also means knowing how to manage a complete session rather than just a single draw. Most sessions with a fully loaded chamber will last anywhere from five to fifteen minutes depending on your temperature setting, how frequently you draw, and how much herb you loaded.
As the session progresses, the vapor may become thinner and slightly less flavorful — this is a natural sign that the active compounds in the herb are being depleted. When this happens, you can either increase the temperature slightly to continue extracting from what remains or conclude the session. Many experienced vapers do a gradual temperature increase throughout their sessions — starting low for maximum flavor and finishing high for maximum extraction.
When you are done, power off the device and allow the chamber to cool before emptying the spent herb. The leftover material — sometimes called ABV, or Already Been Vaped — still contains some compounds and can be reused in various ways, which is another efficiency advantage of vaporizing over smoking.
Step Seven – Cleaning and Maintaining Your Vaporizer
The final step in how to use a dry herb vaporizer for beginners is developing a cleaning routine. A clean vaporizer produces dramatically better vapor than a neglected one, and regular maintenance significantly extends the life of your device. After every two or three sessions, use the small cleaning brush that comes with most vaporizers to sweep herb residue out of the chamber.
Once a week, do a deeper clean using a cotton swab dipped in isopropyl alcohol to clean the screen at the bottom of the chamber and the inner walls of the vapor path. Be careful not to introduce too much liquid — a slightly damp swab is all you need. Allow everything to dry completely before your next session.
The Strio Flowerboy is designed with accessibility in mind, making it easy to reach and clean every part of the device that matters. Keeping it clean is the single most important thing you can do to ensure a consistently great experience, and it only takes a few minutes per week.
FAQs – How to Use a Dry Herb Vaporizer for Beginners
How much herb should I put in the vaporizer chamber?
Fill the chamber to just below the top edge with a medium-fine grind and pack it gently. You want a moderate density that allows airflow but keeps the herb in contact with the heating element. A chamber that is about 80 percent full and lightly packed is a good starting point for beginners.
Why am I not seeing any vapor from my vaporizer?
Several factors can cause weak or invisible vapor. Your temperature may be set too low, the chamber may be packed too loosely, your herb may be too dry or too moist, or the device may need cleaning. Try increasing the temperature by one step and ensure the herb is ground finely and packed at a moderate density.
How long does a session with a dry herb vaporizer typically last?
Most sessions last between 5 and 15 minutes depending on the amount of herb loaded, the temperature setting, and how frequently you draw. A fully loaded Strio Flowerboy chamber will typically provide 8 to 12 minutes of quality vapor at mid-range temperatures.
Can I share a dry herb vaporizer with friends?
Yes, and the Strio Flowerboy is a great social device. When sharing, simply take turns drawing between temperature checks to ensure the device stays at your preferred setting. Some users prefer to do a quick wipe of the mouthpiece between users for hygiene purposes.
Where can I buy the Strio Flowerboy and accessories like grinders?
The Strio Flowerboy, along with the full range of Strio grinders and accessories, is available at strio.com with fast shipping across the United States.